2 Getting Accustomed to R Studio
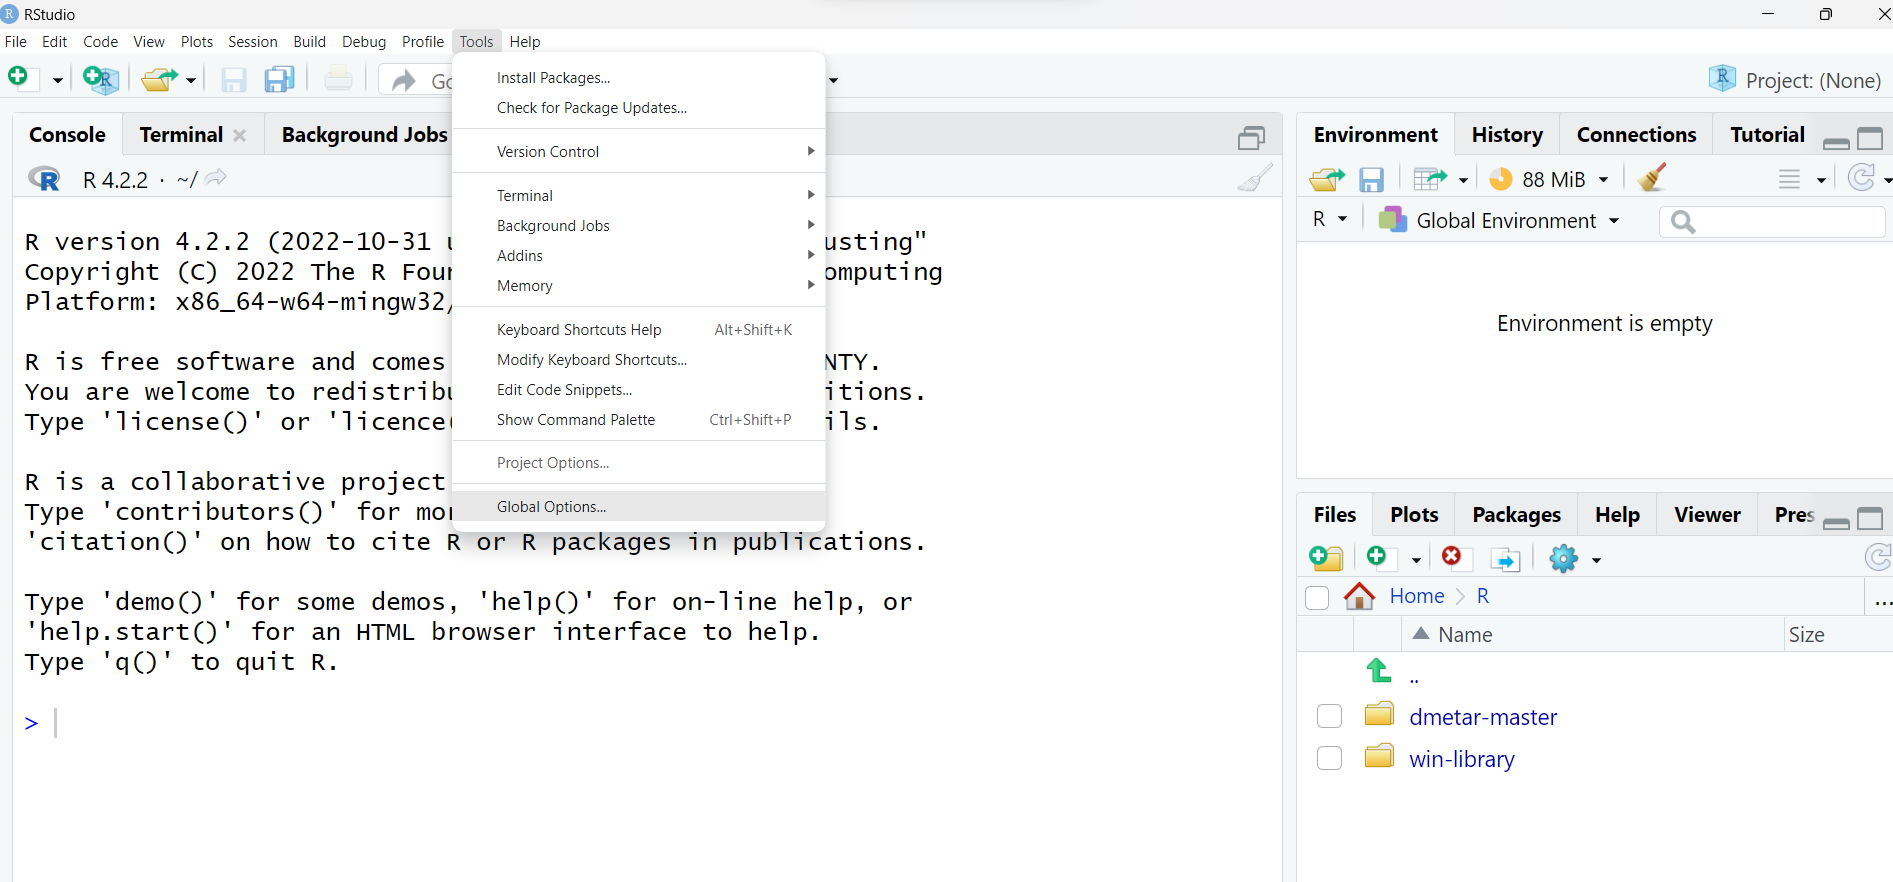
Once you’ve successfully installed R and RStudio, go ahead and open RStudio. It should look something like this:
![]()
Looks pretty plain right? No razzle dazzle?
Before we do anything, let’s first customize the way RStudio looks by going to Tools –> Global Options:
Next, go to Appearance and select an Editor Theme (personally I prefer dark themes like Cobalt). You can also modify the Editor font size in case you want to zoom in on the code. Click Apply to try out different themes, and Ok once you’ve settled on a theme.

You can change the Editor font size to something larger if you have trouble seeing the code at size 10. You can also do this anytime in RStudio by going to View and then clicking Zoom In or Zoom Out:

Now that you’ve settled on a theme and Editor font size, let’s see what each of the panels in RStudio mean:
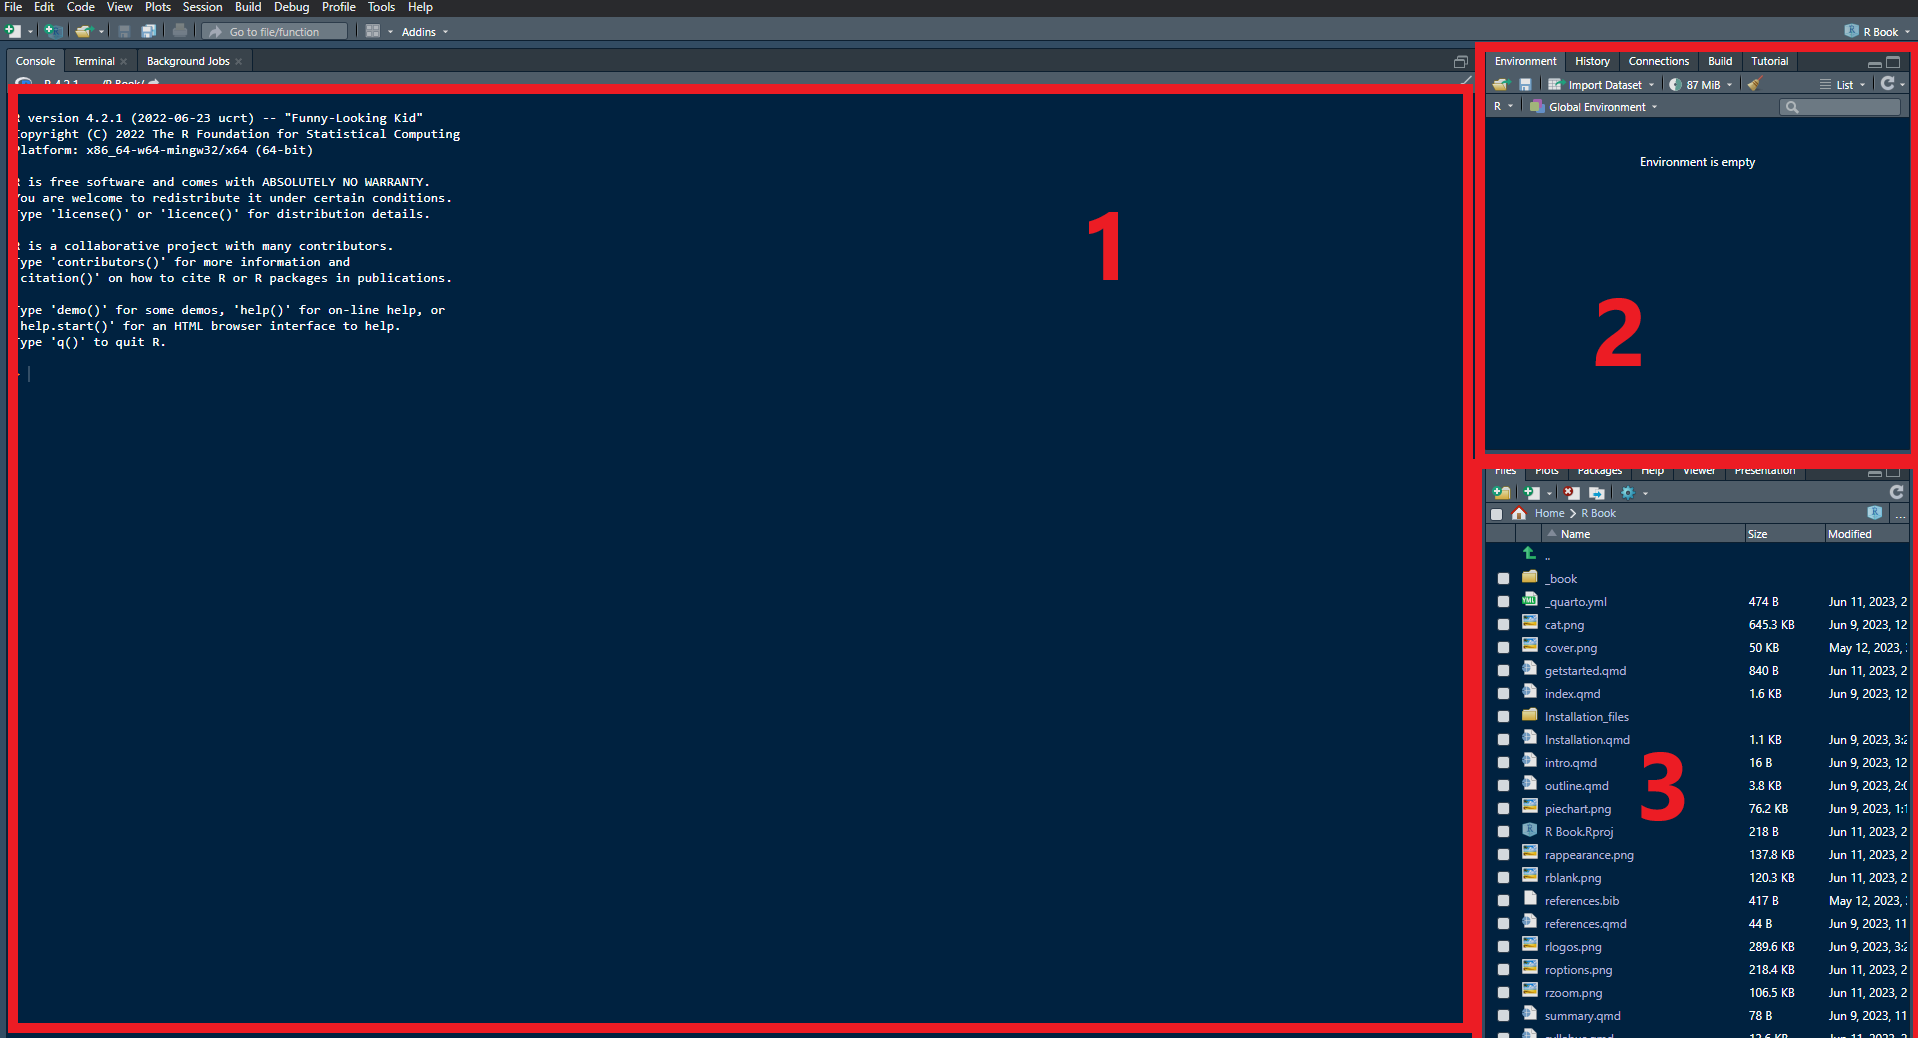
- This area is called the Console, and this is where code is executed.
- This area is the Environments Pane. This is where you can see the objects stored in your R session, such as data, functions, variables, and other things.
- This area is the Output Pane. This is where you can see files in your Working Directory (under the tab
Files), see a preview Plots you might have created, see your list of packages, and more.
There is also a fourth pane, which is usually created by clicking File –> New File –> R Script. This will create a setup that looks like this:
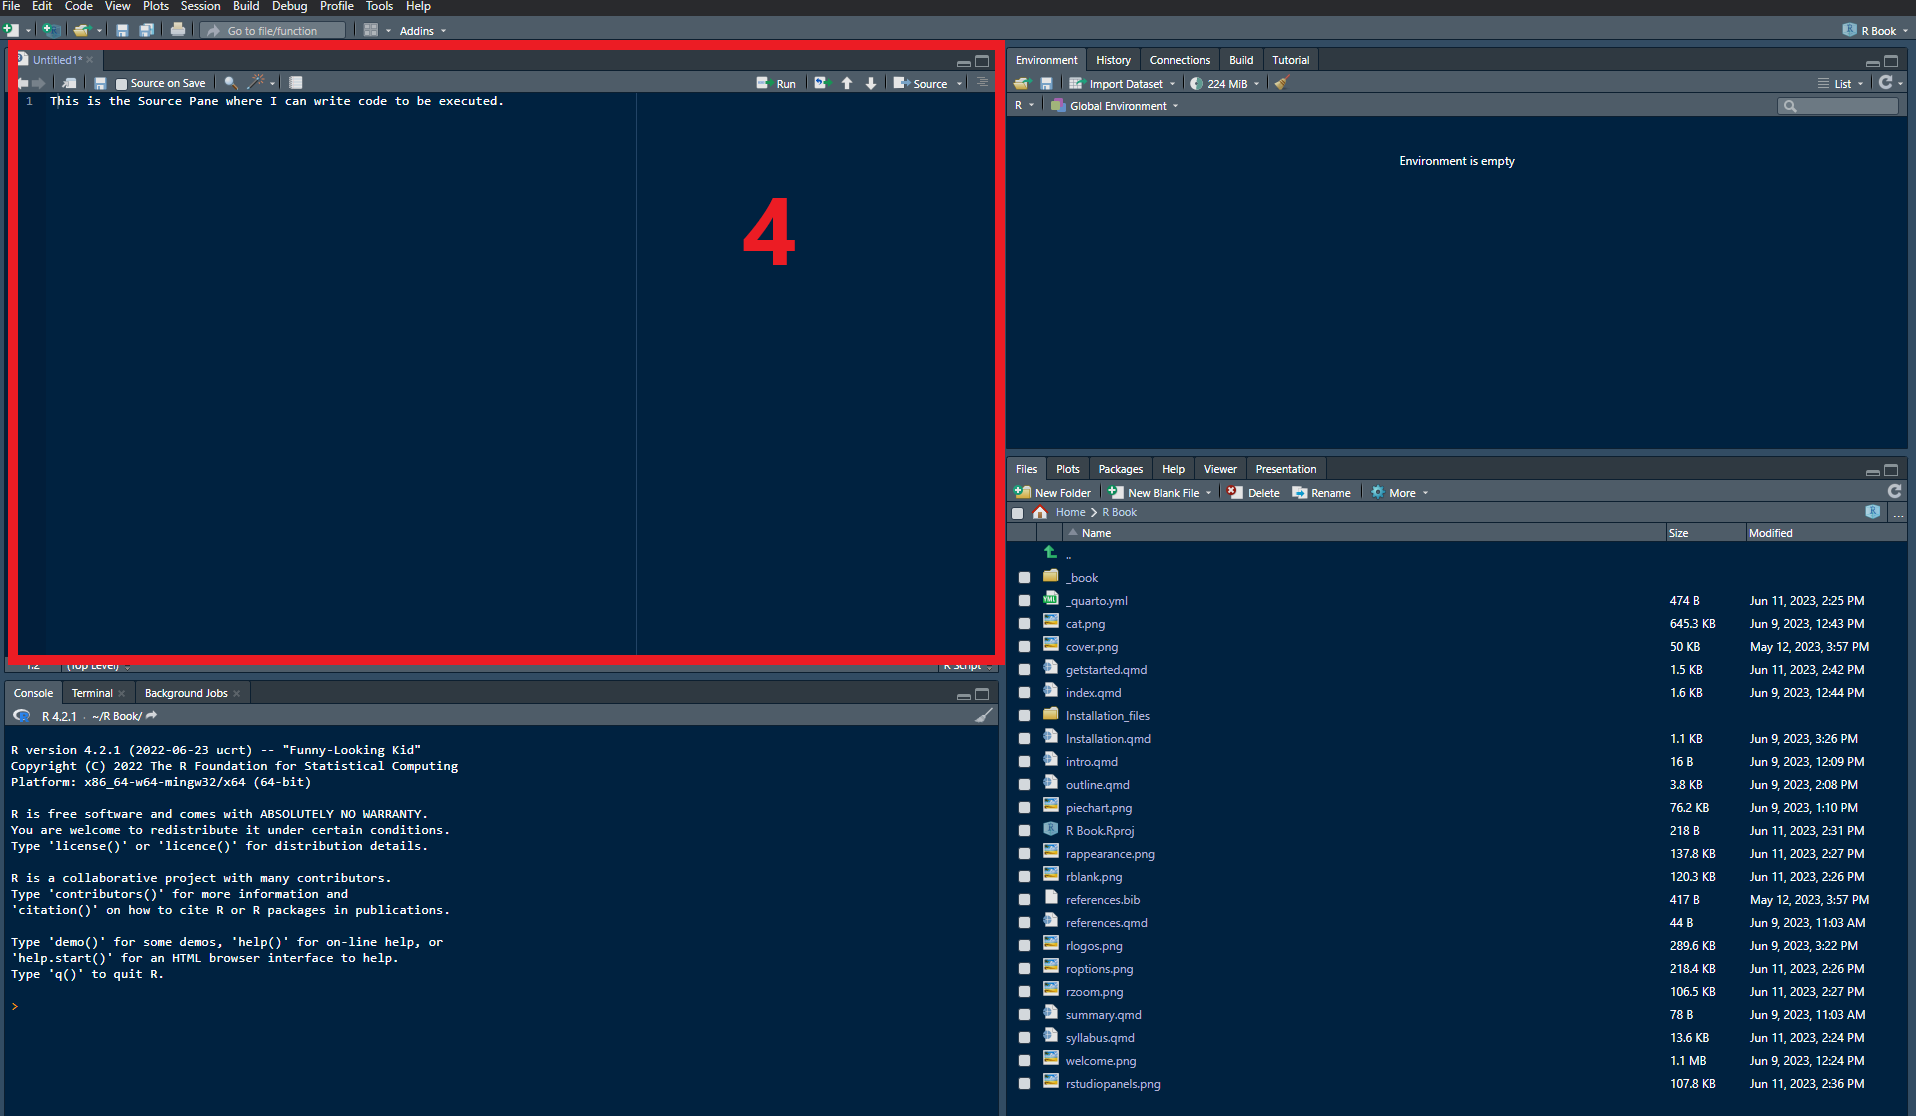
- This is the Source Pane. This is where you can view and edit various code files. By default, we will use this pane to write, edit, and execute R Script files. These files tell R what code to run and in what order to run it.
So there you have it. Those are the four main panels that we will use in R Studio to write and execute R Code. Now, let’s learn some R starting with Chapter 3 !